Table of Contents
ToggleWalk into any five-star hotel and the bathroom often steals the show. Heated floors, rainfall showerheads, marble everywhere, it’s the kind of space that makes checking out feel like punishment. But here’s the thing: those design choices aren’t magic. They’re intentional, replicable, and more achievable at home than most people think. Whether tackling a full gut renovation or a cosmetic refresh, understanding what separates a luxury hotel bath from a builder-grade box helps homeowners make smarter material choices, prioritize the right upgrades, and avoid the Pinterest trap of style over substance. This guide breaks down the core elements, the practical how-to, and the budget hacks that bring hotel-grade design into a residential space.
Key Takeaways
- Luxury hotel bathroom design prioritizes sensory experience through materials like large-format porcelain, natural stone, and minimized grout lines that create a spacious, sophisticated feel.
- Layered lighting with task, ambient, and accent zones—paired with dimmers and 2700K–3000K warm white LEDs—transforms a builder-grade bath into a high-end retreat.
- Spa-like features such as rainfall showerheads, radiant heated floors ($12–$15 per sq ft), and soaking tubs deliver luxury without requiring a complete renovation budget.
- Strategic swaps like brushed nickel fixtures, floating vanities, and full-height backsplashes cost significantly less than gutting the entire space but yield hotel-quality visual impact.
- High-end hotel bathrooms leverage concealed storage, wall-mounted fixtures, and acoustic insulation to create a serene, clutter-free environment that feels larger and more intimate.
- Budget-friendly upgrades—fresh paint, hardware swaps under $300, and accent lighting—prove that luxury hotel bathroom design is achievable through intentional choices rather than unlimited spending.
What Defines Luxury Hotel Bathroom Design?
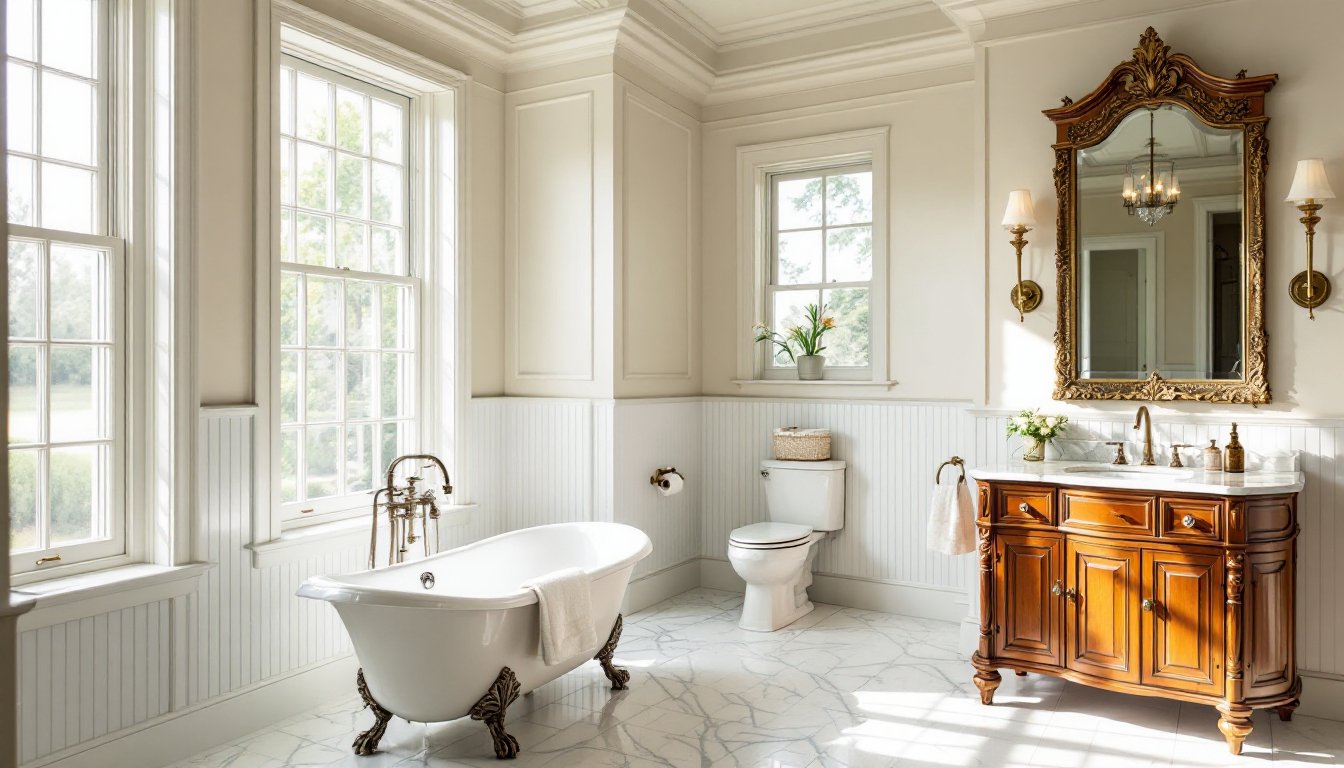
Luxury hotel bathrooms share a design DNA that goes beyond expensive tile. They prioritize sensory experience: how the space feels underfoot, how light bounces off surfaces, how sound dampens when the door closes. High-end properties invest in spatial flow, ensuring the bathroom doesn’t feel like an afterthought tacked onto a bedroom.
Key characteristics include generous square footage (or the illusion of it), separated wet and dry zones, dual vanities even in smaller layouts, and concealed storage that keeps counters clutter-free. Materials lean toward natural stone, engineered quartz, and large-format porcelain rather than small ceramic tile. Grout lines are minimized. Fixtures are wall-mounted or floating to expose more floor, which visually expands the room.
Color palettes stick to neutrals, whites, grays, taupes, and black accents, because they photograph well, age gracefully, and appeal to a broad audience. But luxury doesn’t mean sterile. Texture is everything: honed marble, brushed brass, fluted glass, ribbed tile. Hotels layer these finishes to add depth without busy patterns. Incorporating thoughtful luxury home features into bathroom renovations helps homeowners balance aesthetics with long-term value.
One often-overlooked element is acoustics. Luxury baths use solid-core doors, insulated walls, and sometimes white noise systems (like exhaust fans with adjustable sound levels) to create a private retreat. If the bathroom shares a wall with a bedroom or hallway, adding R-13 fiberglass batts between studs during a remodel drastically improves sound isolation.
Essential Features of High-End Hotel Bathrooms
Premium Materials and Finishes
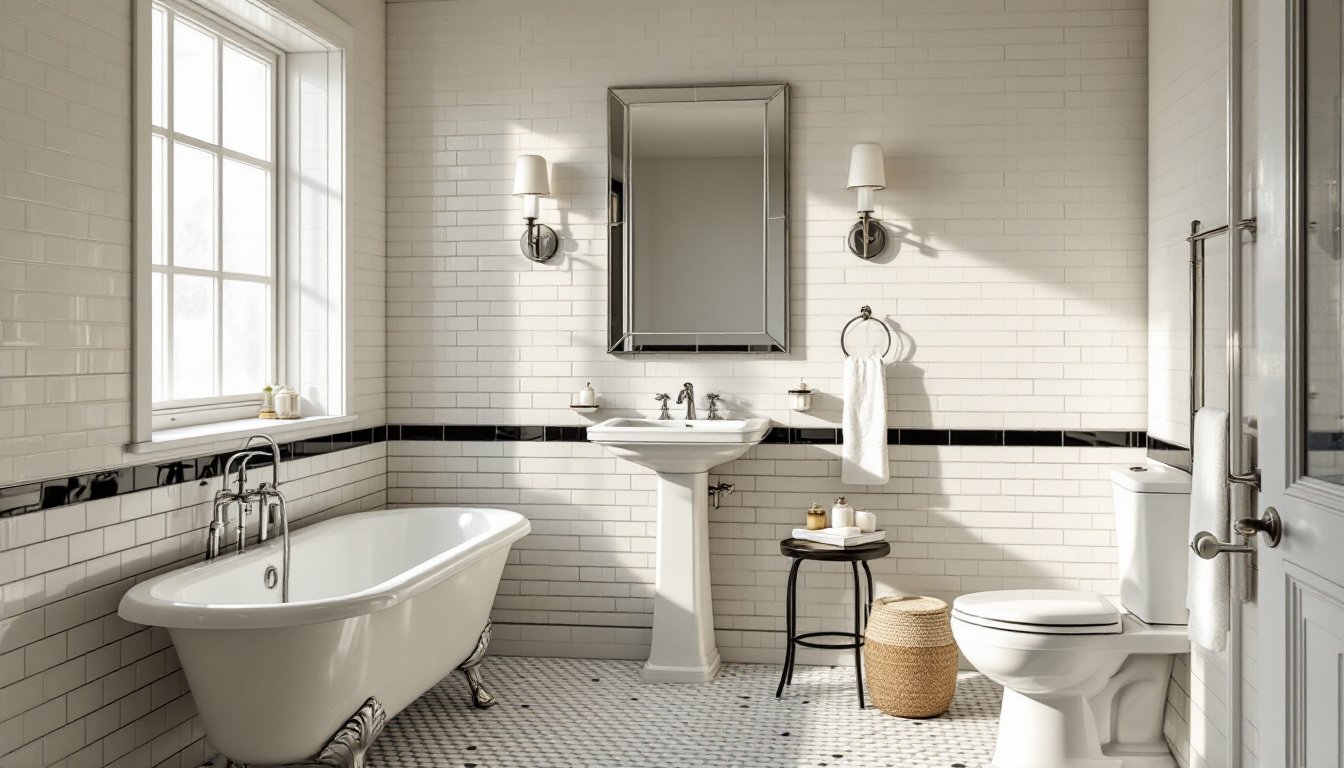
Material selection makes or breaks the luxury look. Hotels use 12×24-inch or larger porcelain tile on floors and walls because fewer grout lines read as cleaner and more expensive. For a true high-end feel, consider 3×6-foot porcelain slabs that mimic marble or quartzite with book-matched veining. These slabs cost more upfront ($15–$30 per square foot installed) but deliver visual impact that small tile can’t match.
Countertops should be quartz or natural stone, with an integrated or undermount sink to eliminate the lip that traps grime. A standard vanity top is ¾-inch thick: luxury installations use 1¼-inch or mitered-edge quartz that looks like a solid block. If budget allows, extend the countertop material up the wall behind the vanity as a full-height backsplash. This detail is straight out of the high-end design playbook and eliminates the awkward 4-inch tile backsplash.
Flooring should include radiant heat if the project involves opening the subfloor. Electric radiant mats (like those from Schluter DITRA-HEAT) run about $12–$15 per square foot installed and transform a cold tile floor into a morning luxury. They’re low-profile (under ¼ inch) and work under any tile or stone.
Fixtures matter. Swap builder-grade chrome for brushed nickel, matte black, or unlacquered brass. Wall-mounted faucets cost more to install (plumbing runs inside the wall, so rough-in happens during framing) but the clean counter line is worth it. For showers, a thermostatic valve with separate volume and temperature controls prevents scalding and is standard in high-end hotels.
Smart Lighting and Ambiance
Lighting in luxury bathrooms is layered: task, ambient, and accent. A single ceiling fixture is a dead giveaway of a budget bath. Start with recessed LED cans (4-inch or 6-inch, depending on ceiling height) on separate dimmers. Use a color temperature of 2700K–3000K (warm white) to avoid the harsh, clinical look of daylight bulbs.
Task lighting at the vanity is critical. Backlit mirrors or vertical sconces flanking the mirror eliminate shadows on the face. Sconces should mount at 60–66 inches above the finished floor (AFF), centered on the user’s face when standing. If using a single fixture above the mirror, choose a horizontal bath bar at least 24 inches wide for even light distribution.
Dimmer switches are non-negotiable. Install a 0–10V or ELV-compatible dimmer (depending on your LED fixtures) so lighting can shift from bright task mode to a low-glow evening soak. Some luxury remodels include color-tunable LEDs that shift from cool white (for morning routines) to warm amber (for baths). These systems add $200–$500 but deliver a boutique hotel vibe.
Ambient lighting hides in the architecture. LED strip lights behind floating vanities, under toe kicks, or in recessed ceiling coves create a soft wash of light that makes the room feel larger. Use IP65-rated strips in wet areas (within 6 feet of a shower or tub per NEC standards). An in-shower recessed light should be IC-rated (insulation contact) and enclosed with a waterproof lens. Many homeowners also explore modern luxury design elements to ensure their lighting integrates seamlessly with contemporary aesthetics.
Creating a Spa-Like Experience at Home
Spa bathrooms prioritize multisensory immersion: steam, scent, sound, and tactile comfort. Installing a steam generator is simpler than most assume. Units like those from Mr. Steam or Steamist mount in a nearby closet or vanity and pipe steam into an enclosed shower. The shower must be fully tiled (including the ceiling) with a sloped ceiling or transom to prevent dripping condensate. Ensure the enclosure is fully sealed, steam will find any gap around the door or ceiling penetrations.
A rainfall showerhead is a spa staple, but placement matters. Mount it directly overhead (not angled like a standard shower arm) at 80–84 inches AFF. Pair it with a handheld wand on a slide bar for flexibility. For maximum impact, add body jets at mid-torso height along the shower walls. These require a ¾-inch supply line and a pressure-balancing valve if multiple fixtures run simultaneously. Consult a plumber early, retrofitting jets into finished walls is painful.
Soaking tubs anchor the spa experience. Freestanding tubs look dramatic, especially when centered on a feature wall or beneath a window. Most are acrylic or cast resin, both of which retain heat better than cast iron and weigh far less (important if installing on a second floor). A standard tub holds 40–60 gallons: ensure the water heater can supply a full draw. If the existing heater is under 50 gallons, consider a tankless unit or a dedicated point-of-use heater for the tub.
Sound systems are increasingly common. Bluetooth ceiling speakers (like those from Sonance or Polk) resist humidity and integrate with existing smart home systems. Run speaker wire during the rough-in phase, fishing wire through finished walls and ceilings is frustrating. Waterproof niches for candles, bath salts, or a tablet holder add function without clutter. Standard niche dimensions are 12×12 inches or 14×24 inches, framed between studs and waterproofed with a bonded foam board backer.
Heated towel bars are an easy luxury add. Hardwired models (120V or 240V) mount to wall studs and should be installed during electrical rough-in. Plug-in versions work for retrofits. Place them within arm’s reach of the shower or tub. A warm towel after a shower is a small detail with outsized impact.
Ventilation is critical in spa baths. A builder-grade exhaust fan moves 50–80 CFM (cubic feet per minute): luxury baths need 100–150 CFM or more if there’s a steam shower. Look for fans with humidity sensors that auto-engage when moisture hits a set threshold. Panasonic WhisperSense and Broan SurfaceShield are solid choices. Vent ductwork should be rigid metal or insulated flex, terminating outside, never into an attic.
Budget-Friendly Ways to Achieve the Luxury Look
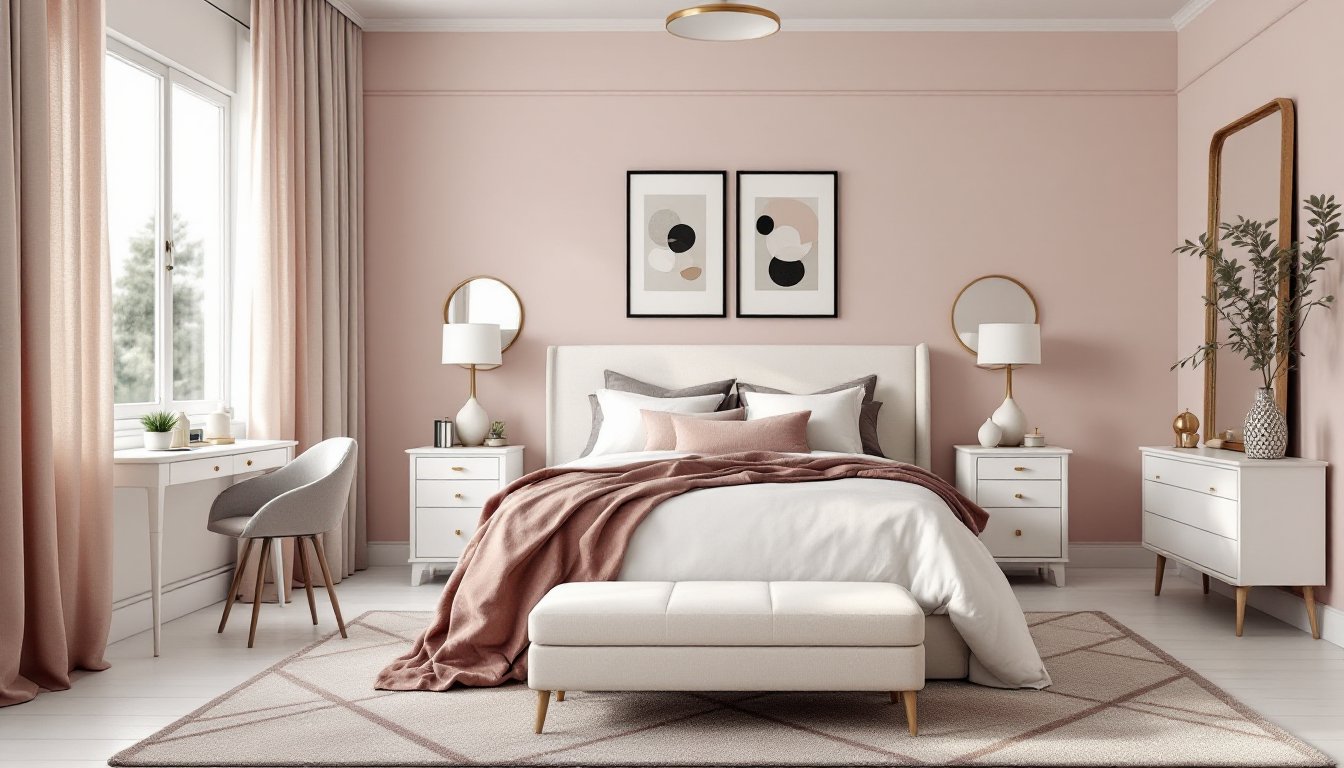
Luxury doesn’t require a blank check. Strategic upgrades and smart material swaps deliver high-end results without refinancing the house. Start with paint. A fresh coat in a sophisticated neutral, like Sherwin-Williams Repose Gray or Benjamin Moore Classic Gray, instantly elevates a tired bathroom. Use semi-gloss or satin finish for moisture resistance and easier cleaning.
Swap outdated hardware and fixtures first. Replacing cabinet pulls, towel bars, toilet paper holders, and faucets with coordinated finishes (all matte black or all brushed gold) creates visual cohesion for under $300. This is the highest ROI upgrade in any bathroom refresh. Luxury aesthetic elements often hinge on these small, consistent details.
If the existing tile is structurally sound but dated, paint it. Specialty tile paint (like Rust-Oleum Tub & Tile or Benjamin Moore Aura Bath & Spa) bonds to ceramic and porcelain. Prep is essential: degrease with TSP substitute, sand lightly with 220-grit paper, and apply two coats with a foam roller. It won’t last forever, but it buys 3–5 years and costs under $100 in materials.
For countertops, consider DIY concrete overlays or epoxy resin kits that mimic marble or terrazzo. These systems (from brands like Countertop Transformations or Stone Coat) apply over laminate and cost $100–$200 per vanity. Results vary with skill level, but tutorials on design inspiration sites and YouTube make it accessible for confident DIYers.
Lighting upgrades deliver outsized impact. Replace a single ceiling fixture with a trio of pendant lights over a double vanity, or install a backlit LED mirror (many are plug-in with hardwire kits available). Affordable options start around $150 online. Add a dimmer switch ($15–$40) for instant ambiance control.
Floating vanities create a high-end look and cost less than custom cabinetry. IKEA’s GODMORGON series or prefab options from Home Depot mount to wall studs with a French cleat or L-brackets. Pair with a vessel sink or integrated quartz top for a modern edge. Open shelving below (styled with rolled towels and baskets) maintains the airy feel while providing storage.
Mirrors matter. A large-format, frameless mirror or one with a thin metal frame (brass or matte black) reads as far more expensive than a chunky wood frame. Custom-cut mirrors from a local glass shop run $8–$15 per square foot, often cheaper than big-box framed versions.
Finally, accessorize intentionally. Hotels use matching sets: soap dispensers, trays, waste bins, and tissue box covers in the same finish. This looks curated, not cluttered. Stick to two or three materials, wood, metal, and stone, and avoid plastic. A wooden stool, a stone tray, and linen towels in a single color elevate the space without new tile or plumbing.
Conclusion
Luxury hotel bathrooms aren’t built on unlimited budgets, they’re built on intentional choices. Prioritize materials that age well, invest in lighting that adapts to mood, and don’t skip the details that separate good from great. Whether installing radiant heat or just swapping out hardware, each upgrade moves the needle closer to that five-star experience. And unlike a hotel stay, this one doesn’t come with a checkout time.