Table of Contents
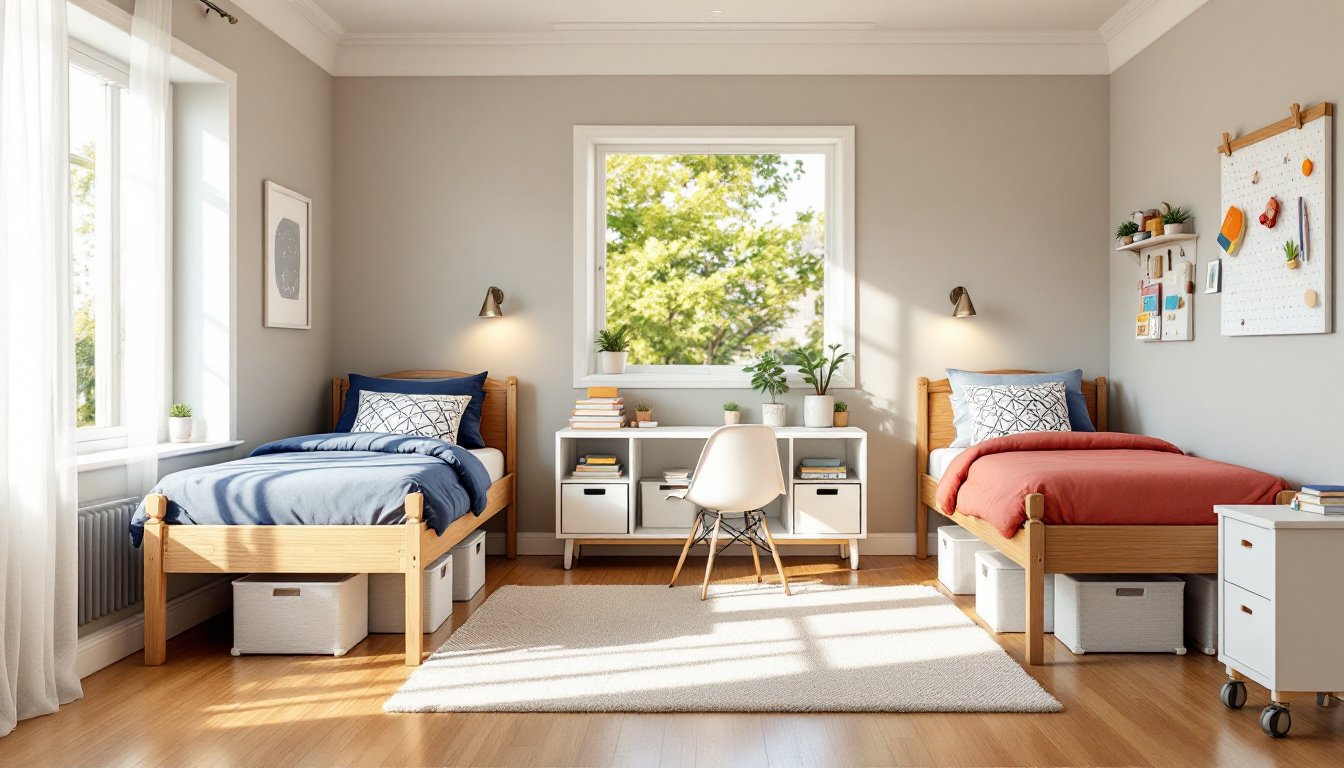
ToggleTiles aren’t just for kitchens and bathrooms anymore. Bedroom floor tiles have become a practical and stylish choice for homeowners looking to combine durability with modern design. They handle fluctuating temperatures, resist moisture better than hardwood, and come in styles that rival any flooring material on the market. Whether someone’s renovating a master suite or updating a guest room, tile flooring offers versatility that works in climates from desert heat to humid coastal regions. This guide walks through material options, trending designs, and installation considerations to help homeowners make informed choices.
Key Takeaways
- Bedroom floor tiles offer 50+ years of durability with minimal maintenance, outperforming carpet while matching hardwood’s lifespan without refinishing requirements.
- Porcelain and ceramic tiles resist moisture and are hypoallergenic, making them ideal for bedrooms in humid climates or slab foundations where mold prevention matters.
- Wood-look porcelain tiles deliver authentic hardwood aesthetics while eliminating maintenance concerns and remaining compatible with radiant floor heating systems.
- Large-format tiles (24×24 inches and larger) create seamless, modern bedroom designs that reduce cleaning time and make smaller spaces feel more expansive.
- Proper substrate preparation with cement board or uncoupling membranes prevents tile cracking and ensures long-lasting bedroom floor installations.
- Warm neutral tones like greige and terracotta dominate 2026 bedroom tile design, while grout color strategy (matching or contrasting) significantly impacts the final aesthetic.
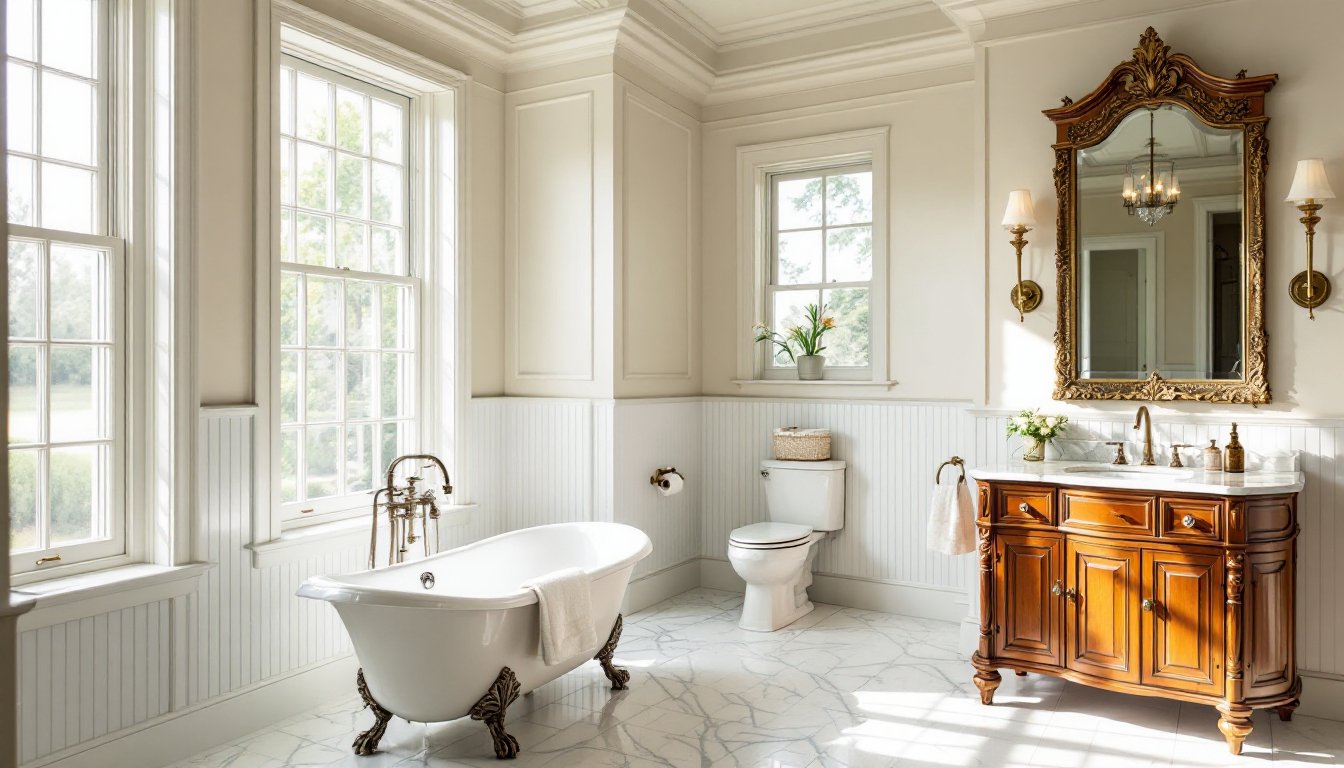
Why Choose Tiles for Your Bedroom Floor?
Bedroom tiles deliver advantages that go beyond aesthetics. Durability ranks first, porcelain and ceramic tiles can last 50+ years with minimal maintenance, outlasting carpet and matching hardwood’s lifespan without the refinishing hassle. They’re also hypoallergenic, a major plus for anyone dealing with dust mites or pet dander that embeds in carpet fibers.
Thermal properties make tiles surprisingly bedroom-friendly. Yes, they feel cool underfoot, but that’s manageable. Radiant floor heating systems install beneath tile with straightforward wiring or hydronic loops, turning cold mornings into a warm wake-up. In warmer climates, tile’s natural coolness reduces reliance on air conditioning during summer months.
Moisture resistance matters more than people think. Bedrooms on slab foundations in humid regions (think Gulf Coast states) can develop mold issues with carpet. Tile prevents moisture trapping and wipes clean if spills happen. It’s also ideal for bedroom-bathroom combos or spaces with exterior door access.
Maintenance stays minimal: sweep regularly, mop with pH-neutral cleaner, reseal grout lines every 1-2 years depending on traffic. No steam cleaning appointments, no fading from sunlight, no scratches from sliding furniture if felt pads are used.
Popular Bedroom Floor Tile Materials and Styles
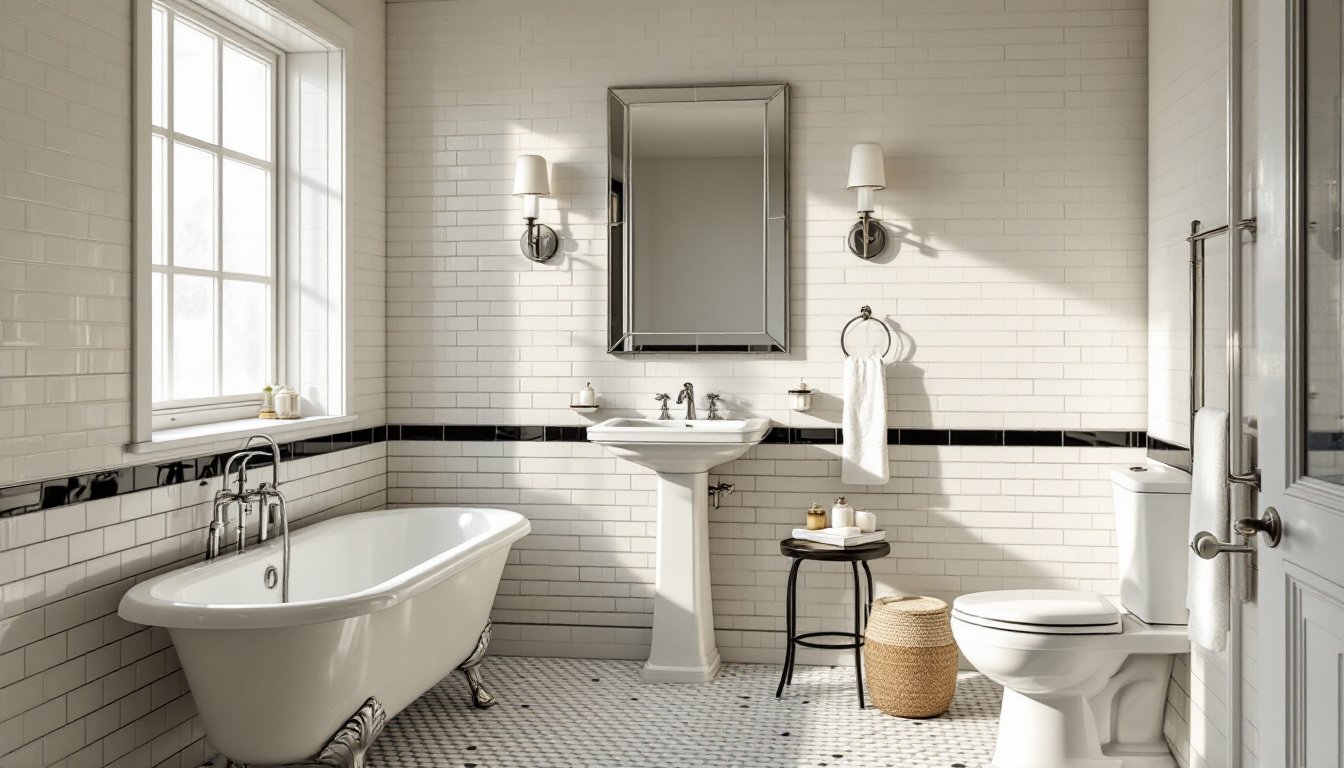
Porcelain and Ceramic Tiles
Porcelain tile dominates bedroom installations for good reason. It’s denser than ceramic (less than 0.5% water absorption rate) and handles temperature swings without cracking. Standard thickness runs 3/8 inch, though 1/2-inch options exist for high-traffic areas. Porcelain comes in rectified edges (precise, minimal grout lines) or standard edges, rectified works better for large-format tiles where alignment matters.
Glazing options range from matte to high-gloss. Matte finishes provide slip resistance and hide minor scratches, making them bedroom-practical. High-gloss tiles look striking but show dust and require frequent cleaning. Through-body porcelain (color runs through the entire tile) hides chips better than surface-glazed versions.
Ceramic tile costs 20-40% less than porcelain and works fine for bedrooms since they don’t face the moisture exposure of wet areas. It’s softer and more prone to chips from dropped objects, but the color and pattern variety often exceeds porcelain’s range. Wall-rated ceramic isn’t suitable for floors, always verify the tile carries a PEI (Porcelain Enamel Institute) rating of 3 or higher for residential floor use.
Natural Stone and Wood-Look Tiles
Natural stone tiles (marble, travertine, slate, limestone) bring organic texture but require more upkeep. Marble needs sealing every 6-12 months and etches from acidic spills. Travertine’s porous surface shows stains unless properly sealed. Slate offers durability with natural slip resistance from its cleft surface, though the uneven texture makes furniture placement trickier.
Stone tiles run thicker than porcelain, typically 1/2 to 3/4 inch, which affects underlayment requirements and door clearances. Budget an extra $2-4 per square foot for professional sealing and be realistic about maintenance commitment.
Wood-look porcelain tiles solve the “I want hardwood warmth without the maintenance” dilemma. Modern printing technology creates grain patterns and color variation that fool most visitors. Plank sizes mimic real wood: 6×36-inch, 8×48-inch, and 9×60-inch formats are common. Install them with staggered joints (33% offset minimum) just like hardwood for visual authenticity. These tiles resist scratches, don’t need refinishing, and handle radiant heat better than actual wood.
Trending Design Ideas for Bedroom Floor Tiles
Large-format tiles (24×24-inch and bigger) continue gaining popularity in bedrooms. Fewer grout lines create a seamless look and reduce cleaning time. Some homeowners are pushing into 36×36-inch or even 48×48-inch formats for spacious master bedrooms. Installation requires a flatter substrate, variations over 1/8 inch in 10 feet cause lippage (edges that don’t align), so professional leveling compound application often becomes necessary.
Geometric patterns using hexagons, diamonds, and elongated hexagons add visual interest without overwhelming a sleep space. These work best as accent zones near the bed or in sitting areas rather than wall-to-wall installations. Mixing tile sizes within a pattern demands precise layout, dry-fit everything before mixing thinset.
Terrazzo-style tiles bring mid-century modern vibes back. The speckled appearance (chips of marble, quartz, or glass in a cement or epoxy base) adds texture while maintaining a calm palette. Real terrazzo requires professional installation and polishing: terrazzo-look porcelain delivers the aesthetic at a fraction of the cost and complexity.
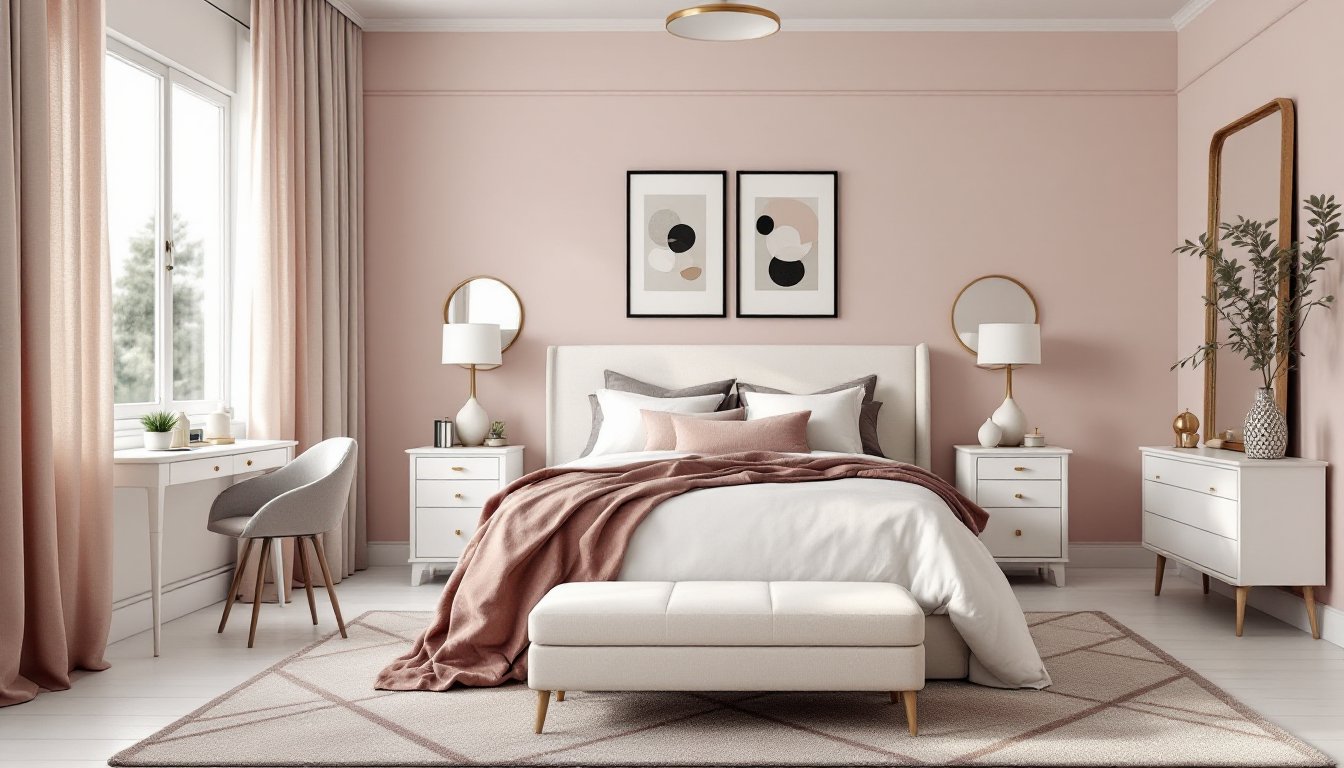
Warm neutrals and earthy tones dominate 2026 bedroom palettes. Greige (gray-beige hybrids), warm taupes, sandy beiges, and soft terracottas create cozy foundations. Cool grays still appear but are often warmed with beige-toned grout for balance. One consideration on bedroom flooring choices relates to matching grout strategically, high-contrast grout emphasizes pattern, while matching grout minimizes visual breaks.
Choosing the Right Tile Size, Color, and Pattern
Tile size impacts both aesthetics and installation complexity. Smaller tiles (12×12-inch and under) show irregularities in subfloor less obviously and work better for out-of-square rooms. Larger tiles make small bedrooms feel more expansive but require near-perfect substrate flatness. Plan on 15-20% material overage for cuts and breakage, more if working with diagonal layouts or complex patterns.
Color selection should account for natural light exposure. North-facing bedrooms receive cooler, indirect light that can make gray tiles feel stark: warm beiges and creams compensate. South-facing rooms with abundant sunlight handle cooler tones well. Test large samples (at least 12×12-inch) in the actual room at different times of day before committing to full boxes.
Grout color significantly affects final appearance. Light grout (white, bone, light gray) brightens spaces but shows dirt faster and requires more frequent cleaning. Dark grout hides stains but can make light tiles look segmented. Matching grout to tile color (within 1-2 shades) creates a cohesive look. Epoxy grout costs more than cement-based but never needs sealing and resists staining, worth considering for light-colored installations.
Pattern options beyond straight-lay include:
- Running bond (brick pattern): 50% or 33% offset, works with rectangular tiles
- Herringbone: 45° angled zigzag, adds movement, requires 20% waste factor
- Diagonal: squares rotated 45°, makes rooms appear larger, tricky cuts at walls
- Versailles (French) pattern: mix of tile sizes in a repeating pattern, high-end look, professional installation recommended
Straight-lay (grid pattern) remains the most DIY-friendly and material-efficient. Resources at design studios often provide layout visualization tools to preview patterns in actual room dimensions.
Installation Tips and Practical Considerations
Substrate preparation determines installation success. Bedroom floors typically sit on either plywood subfloor (over joists) or concrete slab. Plywood needs 3/4-inch thickness minimum, and many pros add 1/2-inch cement board on top for stability, tile cracks over flexing subfloors. Deflection shouldn’t exceed L/360 (length divided by 360) under load: joists 16 inches on center generally meet this, but verify with a deflection calculator if unsure.
Concrete slabs need crack isolation membrane if hairline cracks exist. Uncoupling membranes (like Schluter DITRA or similar products) absorb movement and prevent cracks from telegraphing through to tile. They add 1/8 inch to floor height, factor this when considering door clearances and transitions to other rooms.
Thinset selection matters. Modified thinset works for most applications, but unmodified thinset is required under uncoupling membranes (the membrane provides modification). Use large-and-tile (LHT) thinset for tiles larger than 15×15-inch or any plank format. Apply with appropriately sized trowel: 1/4×3/8-inch square-notch for 12×12-inch tiles, 1/2×1/2-inch for larger formats.
Tools needed for DIY installation:
- Wet saw (rent for $50-75/day) or snap cutter for straight cuts
- Notched trowel (size matched to tile)
- Tile spacers (1/16 to 1/4-inch depending on look)
- Rubber grout float
- Bucket and sponge for cleanup
- Knee pads (non-negotiable for comfort)
- Safety glasses and dust mask for cutting
Installation sequence:
- Prep and level substrate (patch holes, grind high spots)
- Dry-lay tiles to finalize pattern and minimize small cuts at edges
- Apply thinset in small sections (30 minutes working time typical)
- Set tiles with slight twist, check level frequently
- Allow 24-48 hours cure time before grouting
- Apply grout with diagonal strokes, clean excess within 20 minutes
- Seal grout after 48-72 hours (if using cement-based grout)
Permit requirements: Most jurisdictions don’t require permits for finish flooring replacement, but if removing walls or altering structural elements, permits apply. When in doubt, call the local building department.
Radiant heat installation adds $10-15 per square foot in materials and requires electrical knowledge. Systems come in mat form (easier) or loose cable (custom layouts). Install per manufacturer specs, most sit in thinset layer directly under tile. Hiring a licensed electrician for hookup often makes sense even if tackling tile work DIY. Many tile installation projects benefit from professional guidance on heat system integration.
Transition strips handle height changes between tile and carpet, hardwood, or other rooms. Schluter profiles and similar systems offer cleaner looks than basic metal T-molding. Match finish to room hardware (brushed nickel, oil-rubbed bronze, etc.). Install these after tile but before grouting for cleanest integration.
Realistic timeline for a 12×14-foot bedroom: one day for substrate prep, 1-2 days for tile setting (depending on pattern complexity), one day for grouting and sealing. Add time for material shopping, tool rental, and furniture moving. First-time installers should double these estimates.